
I finally managed to create a video where I start to put together my 300TDT again. Please have a look and tell me what you think 🙂
I finally managed to create a video where I start to put together my 300TDT again. Please have a look and tell me what you think 🙂
I finally start to pull the engine out of my S123 280TE. I do this to get rid of some leakages that are quite nasty. Hopefully I will soon be able to drive the car again.
In this video I fix a sticking accelerator linkage on my W108. When I took it apart it was apparent that someone had used grease on the linkage. When that dries out, it gets hard and stops the linkage from working properly.
According to the old Mercedes-Benz service manuals the bushings should be oiled with oil from an oil can after every engine wash. So I took everything apart, cleaned it with brake cleaner and oiled with with a machine oil that I have.
This summers goal with the 1980 300TDT is to do a cosmetic restoration of the engine bay. I made a video about it. Please have a look, and click like and subscribe if you want me to make more videos.
And I made yet another video. This time I wake my W108 up from its winter slumber
I made a new video today about the first start after the winter for my 1980 300TDT, a W123. Please check it out here:
I made a short and crappy youtube video about a minor repair I did on my W140. Please check it out here:
I will try to make some videos about my other cars as well, so please subscribe if you are interested.
One of the the things a lot of people have problems with on the W140 is the interior fan. It suddenly stops reacting to changes from the climate control and only runs at a low speed. Sometimes it also fails completely, leaving you without a working fan. Leading to fogging on the windows, no heat in the interior etc. Not a pleasant thing to happen at all.
The obvious culprit is the fan regulator. It is mounted on top of the fan and controls the speed of the fan via a signal it recieves from the climate control. If this part fails, you will get these symptoms.
From what I can see there are a couple of possible reasons for this part to fail.
And of course, it could just be that the fan motor itself is gone, for instance due to worn out brushes.
When I first bought the car, the fan was only turning at a very low speed. I bought an Bosch part from Ebay since everything I have read is that the chinese knock offs are really bad and will not last longer than a month.
This worked for some months before the fan again stopped working. I concluded that the part may have been a copy made to look like a genuine part, so I ordered a new part (Hella) from a respectable Mercedes specialist.
I mounted this new part in the summer. 4 months after, it started to fail again. First, it started with the fan going for 5 seconds after I turned of the ignition. It did this for a couple of weeks, before it failed completely, and I had only a fan running at the lowest speed.
I contacted the dealer immediately, and they agreed to do an exchange. For some reason, before I had the time to remove the part, it started working again. Everything was back to normal. I told the dealer to hold on, since I rather have a working fan for as long as possible in the middle of the winter in Norway.
It worked for a couple of months before it failed completely. I had foreseen this, and bought a chinese regulator on ebay for 20USD. But I wanted to check everything this time before I took the possibly failed regulator off the car and put in the chinese knock-off instead, while awaiting a new proper part.
So, first you need to do is remove this plate that covers the fan.

And disconnect these vacuum lines:

You can probably figure out which screws to remove yourself (hint: it is mostly the large ones around the permieter of the cover)
And here are the fan. The fan regulator is the black box mounted on the right side on top of the fan.
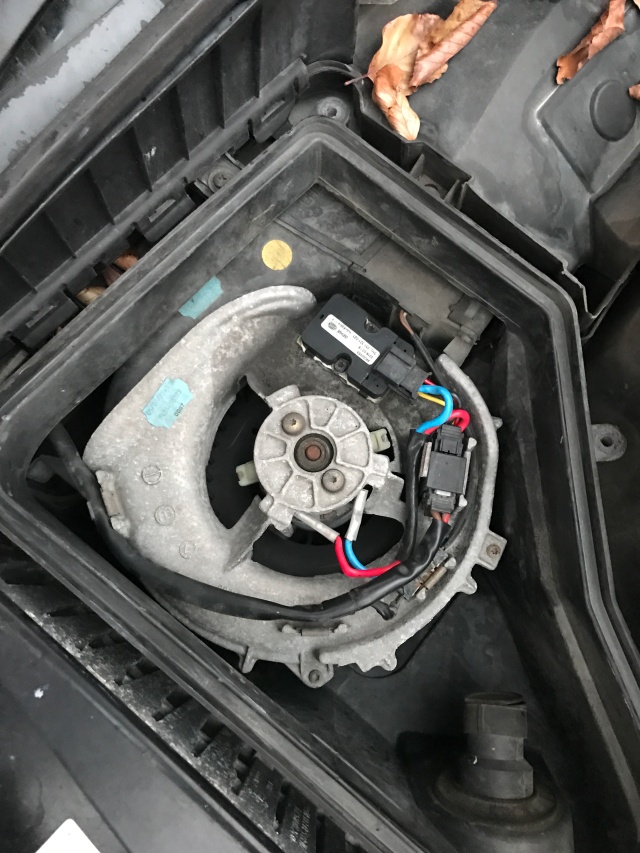
First I did was to disconnect the wires going to the fan motor, start the engine and turn the fan to “max”. Then I measured the voltage.


This was very weird. On first try I got a reading of 13.77 volts! This is what I anticipated to see with a working fan regulator. I reset everything and tried again, this time I only got 0.13 volts. Funky, and I can not explain why I got a different reading the second time.
I decided to remove the motor to check the status of it. This is the fan housing. The motor can be removed just by undoing the two screws on top.

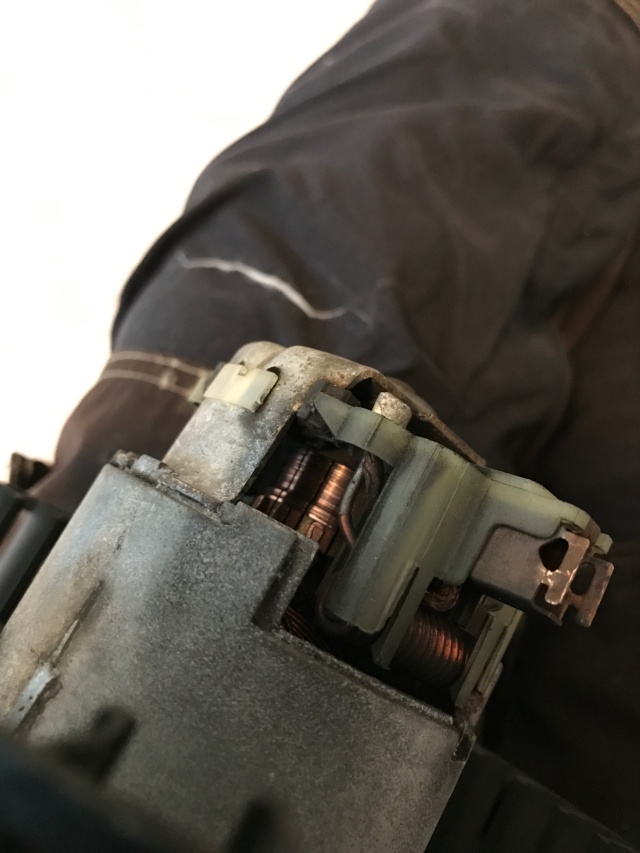
This is the fan motor itself. I visually checked the brushes, they where good, plenty of brush left. And the motor turned freely. I applied some oil to the bearings since I already had removed it.

There were some carbon contamination on the shaft that the brushes connects to, so I cleaned it up with some sand paper.
Before I put the motor back into the car, I tested it on a spare battery, and it worked perfectly.
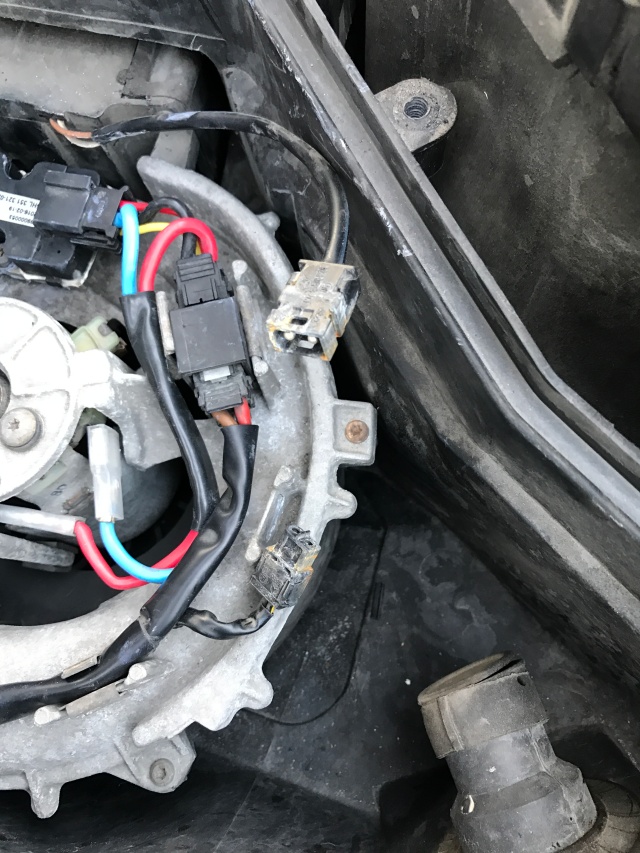
After mounting it, I tested the power coming to the regulator from the battery, it was a steady 13.7 volts. Then I noticed this connector, that I cleaned up. It does not seem to be related to the fan, but good to have done it anyways.
After connecting the fan, I concluded that it still did not work. I wiggled the cables around to see if I could provoke some sort of reaction, but it was completely dead.
So last test was to put the chinese fan regulator in, and the fan started up and worked as it should. So the Hella part had failed me.
I am going to get a replacement part, and I will also exchange the air filter and check that all vacum works as expected at the same time. More on that later.
A while ago, while my wife was driving my MY2003 E220CDI Avantgarde, the right backwheel seized up and she had to stop the car. After stopping, moving the car was impossible.
The tow car came, and pulled her up on the flatbed. When he delivered the car, the back wheels came free again when rolling backwards, before immediately seizing up again when the car rolled forwards.
My first thought was that something had come loose in the mechanism for the handbrake, maybe I had used too long wheel bolts. So, I started wrenching on it. First I removed the wheel. Nothing suspicious here… (The car has been sitting, hence the rust on the disk…)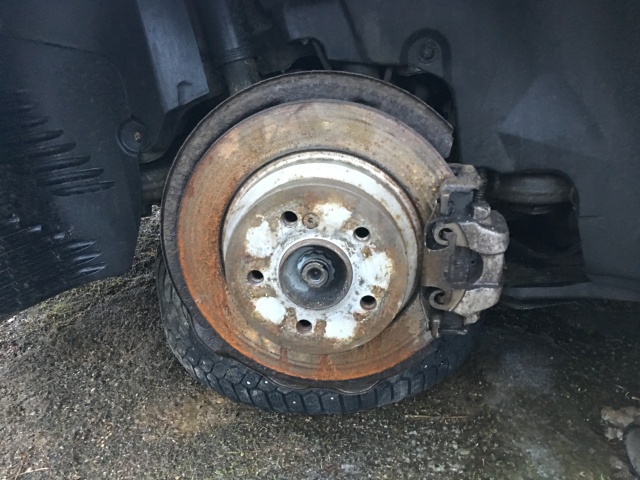
Then I proceeded to remove the caliper and the disk to find the problem.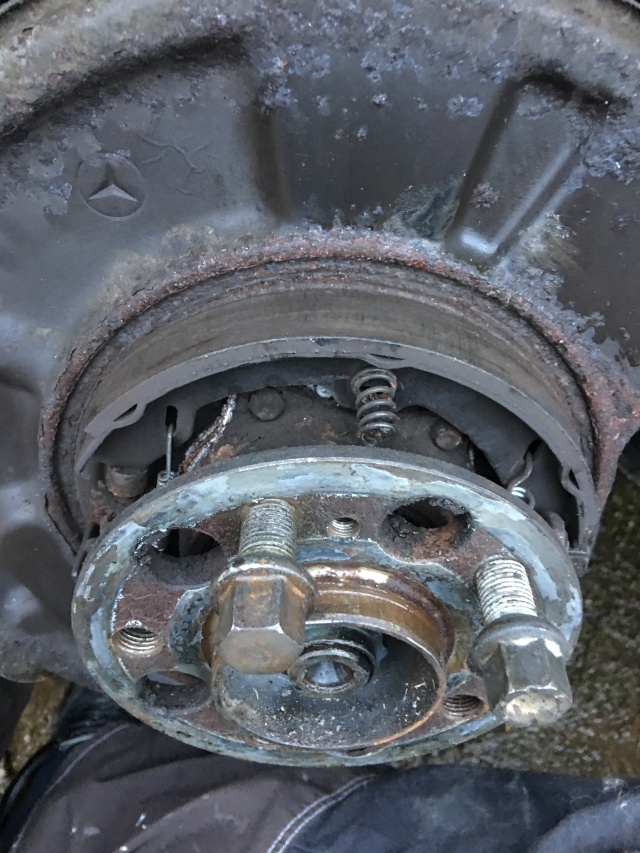
But everything was good. No problems. I actually overhauled this mechanism a couple of years ago.
So, my next thought was that the wheel bearing was gone, so I needed to remove the drive shaft so I could turn the bearing and check if it was a goner or not. I was not able to push the drive shaft in enough to remove it from the hub assembly, so I loosened all the links to the hub assembly apart from the lower control arm.
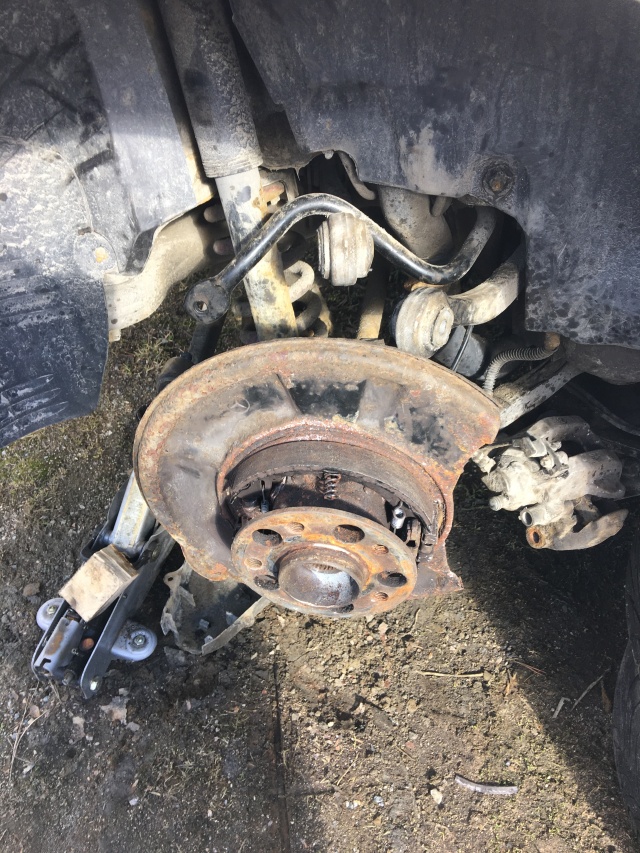
After this, I was able to push the drive shaft out of the hub and turn the hub to check the bearing. Of course it was ok. No play, no sounds, everything works as it should.
So, my conclusion was then that the problem must be with the differential. Since it is quite a lot of work to remove it, I thought I should check the oil on it first, to see if there was metal fragments in it. This is the oil that came out:

Notice the few black drops in the middle of the drip pan? That is all the oil that came out… So, I guess I found the problem. This means that I will have to change the differential on the car, and probably do a complete overhaul of the back axle as well, since it would be kind of stupid not to do it while taking everything apart anyways.
If you read this blog, there are actually some who do, you have seen the hideous rims on my W140. Yesterday was finally the day when they could be removed from the car never to be seen in the vicinity of it ever again. The bad taste of some people baffles me…

Just to remind everyone how idiotic these rims looked. I am just not a fan.
So, I got some newly restored 16″ 8-hole rims with the correct W140 part number. Ordered brand new Michelin tyres in the correct size, 235/60-16. The original rims have way longer wheel bolts than the aftermarket rims, so I had to buy new bolts as well. I checked the price at a Mercedes-Benz dealer, but they were extremely expensive. I ended up buying a complete set of correct bolts at the norwegian Mercedes-Benz parts dealer AutoTrio.
Before mounting the rims on the car, I polished them with Swissvax Cleaner Fluid and applied Swissvax Autobahn for protection.
I did not have time to clean the rest of the car yesterday, so it is quite dirty in this photo. But it looks so much better to my eyes. 
| Hans aan de Stegge on Cleaning and oiling accelerato… | |
| james f jordan on Boge hydromat | |
| James f Jordan on Boge hydromat | |
| Ta on W140 air condition unit bulb… | |
| IGG on W140 interior fan problem… |
